Welcome back! For this second and final instalment I'll show you how to make the newly reconditioned hills (or terrain of your choice) look they belong on your battlefield. (Well, on my battlefield, but you get the idea)
Again, gather your materials and clear some space. While not as messy as the glue and sand part, expect some drips and general painting mess.
For materials, you'll need:
- Paintbrush - same as before.
- Black paint - this will be the basecoat, so something that will cover well is ideal. I long ago bought a quart of matte black interior latex at Rona (or Home Depot for those south of 49). Cheap and covers well, and the quart will last a long time.
- Two brown paints - one will be the brown base, the other will serve to mix as the highlight. In this case, I used 'Folk Art' brand Nutmeg Brown as the base, and Toffee as the highlight colour. Your preference may be different, such as a light sandy colour, a reddish, Mars-like colour, or whatever you painted your models' bases.
- Mixing tray - to cut the paint with water just a bit, and for the highlight mix.
Once you have everything assembled, give your terrain a good coat of black. Just as the glue and sand mix sealed and protected the styrofoam underneath, this coat of paint seals the glue against moisture that can soften the PVA glue.
This coat is the most important for sealing, so you want to make sure it's thorough. Depending on the cragginess of your terrain, this may take a while. Make sure you get paint in every nook and cranny. Not only does it protect and seal up the glue mix, it ensures that aesthetically, you've got colour everywhere on the piece.
Again, I've used the spacers to keep the piece elevated to prevent any paint at the edges from sticking to the newspaper. For some other pieces I made a while ago I painted the bottom as well, just to seal it all, but here I've only gone under at the edges, to make sure there's no visible styrofoam when the terrain is in play.
Once you have them all painted, they need to sit and dry fully. When I say fully, I mean it. If you start the next layer too soon, then the black will start to run into the brown. Patience, young Padawan, patience. Since I had other things to do the rest of the day, I put them all back on the shelf and left them overnight. This is one advantage of bulk terrain, you can often work at it for just a short time each day, and when you're done you have lots of stuff ready to go.
Here the black base is dry:
And the black is thoroughly covering the edges right to the bottom:
Now things start to look good. Take your base brown (or colour of choice) and apply it over the black. The goal here is thorough coverage. If a spot is missed, particularly at the sides, the black will show which will look like a small shadow. Not a big deal but better to get it covered nice and evenly.
Also, try to vary your brush strokes to avoid a consistent direction. That will prevent any kind of 'grain' from appearing in your paint. As well, if you thin it too much, like I did the first coat here, it won't cover and will look more like a wash.
Not so hot looking, but I let them dry and added a second coat. You may find you need to do this anyway depending on what you choose as a colour. Lighter colours in particular. You can also experiment with other base colours. My stepson made boards for his Protectorate of Menoth army, and used a middle brown latex instead of the black. Again, don't be afraid to experiment. For mine, the second coat was the charm and the hills are set out to dry.
The next coat is a mix of the base and the highlight colour. Again, it's not an exact ratio, rather eyeballing it to get the look you want. In this case, here's my ratio:
Exact science indeed. For this coat, you only want to brush the high points and maybe catch part of the flat areas. Again, you can experiment to get the look you want. As before, try to avoid a consistent brush direction.
Note the angle of the brush. I find skimming over the surface can be a good way to avoid putting down too much paint. I also clean most of the paint off the brush, similar to drybrushing, but not quite as 'dry.' A third highlight can be done, depending on the look you're after. Once you're satisfied with them, set them aside to dry.
Don't worry too much if your highlights are a bit heavy. You can either go back with a bit of base coat, or add some more to make it look more even. Irregularities in the colour are fine, as the ground outside isn't perfectly one colour either. That and static grass hides many sins.
Once you're happy with them, and the paint is fully dry, you will need another set of materials:
- The white glue again, as well as a mixing vessel.
- A paintbrush.
- Static grass - this comes in several colours. For the larger boards, I used different densities of dark green, medium green and hay colours. For this set of hills, I have a mix of the three (really just the leftovers from terrain boards) that I used for some other hills as well as when basing models. The choice is yours, based on your colours and the final look.
- As always, newspaper to catch any glue or drips.
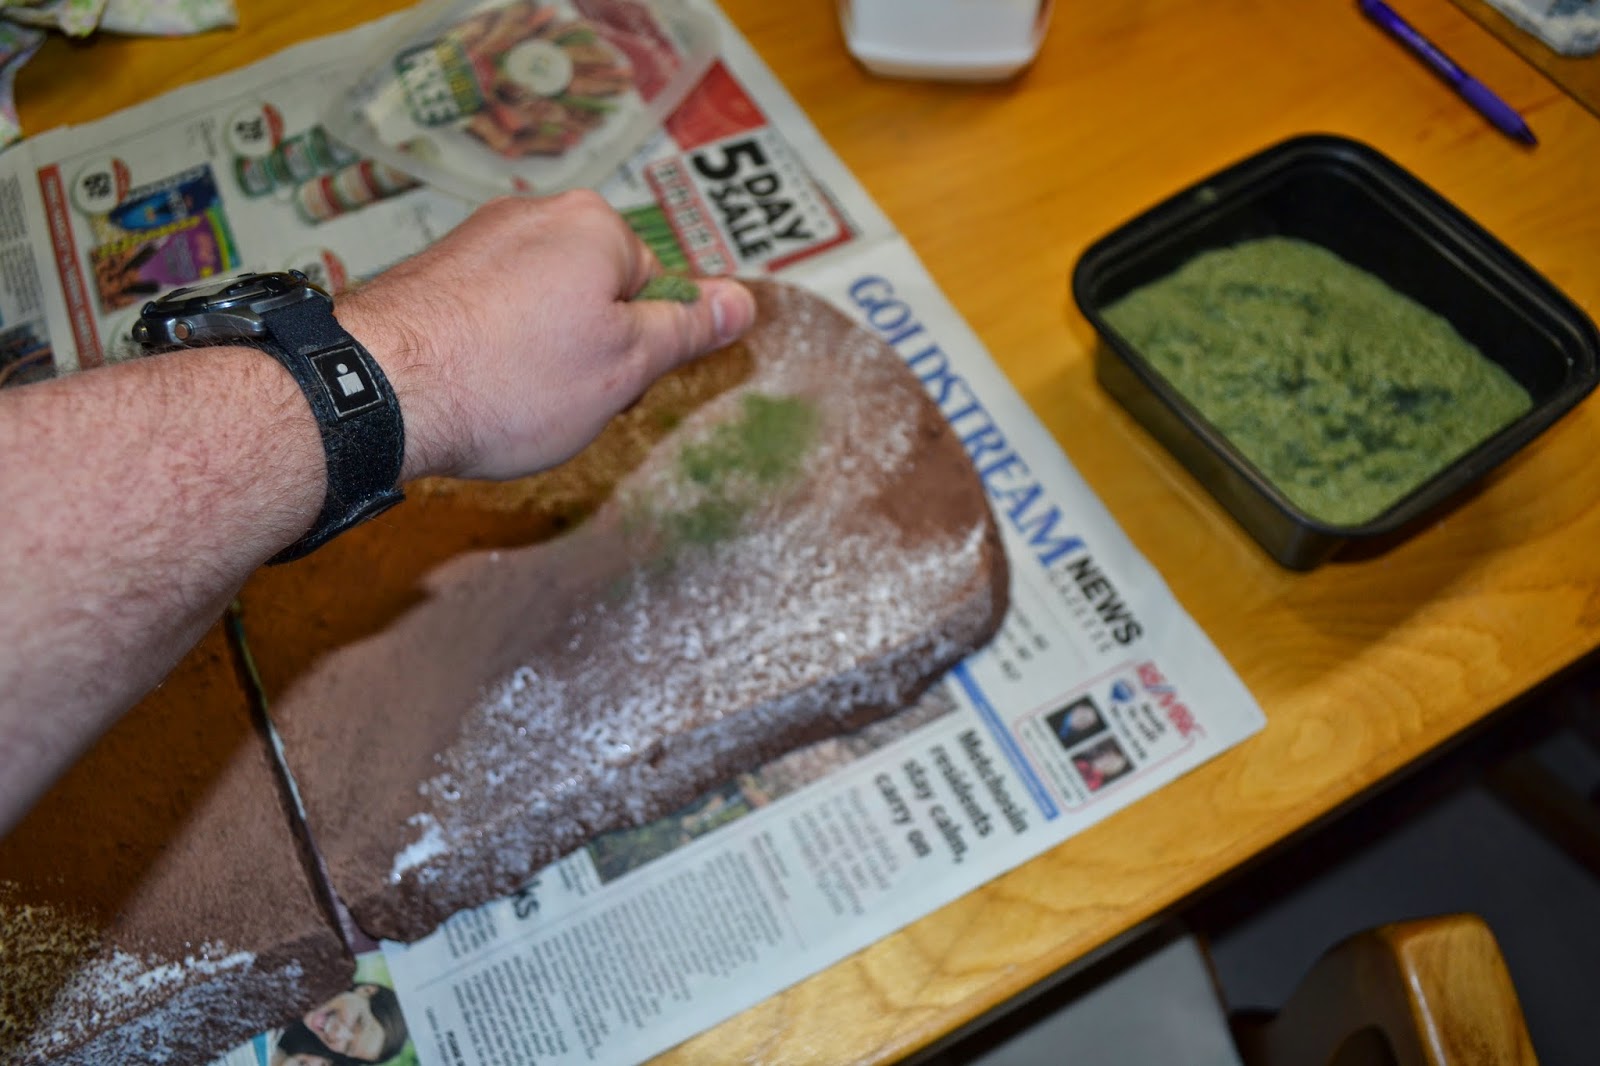
Mix the glue and water in a similar ratio to what you used for the glue and sand process. It can be a little thinner because you only need to put down enough glue to hold the static grass. The heavier the coat of glue, the more grass it will catch and hold, so you can vary the density of the grass on your terrain.
I try to do an uneven pattern, covering different amounts of each hill. Some will be completely covered, others with very little. Keeping it random-ish helps when you're making modular terrain as it will fit almost anywhere on a matching table.
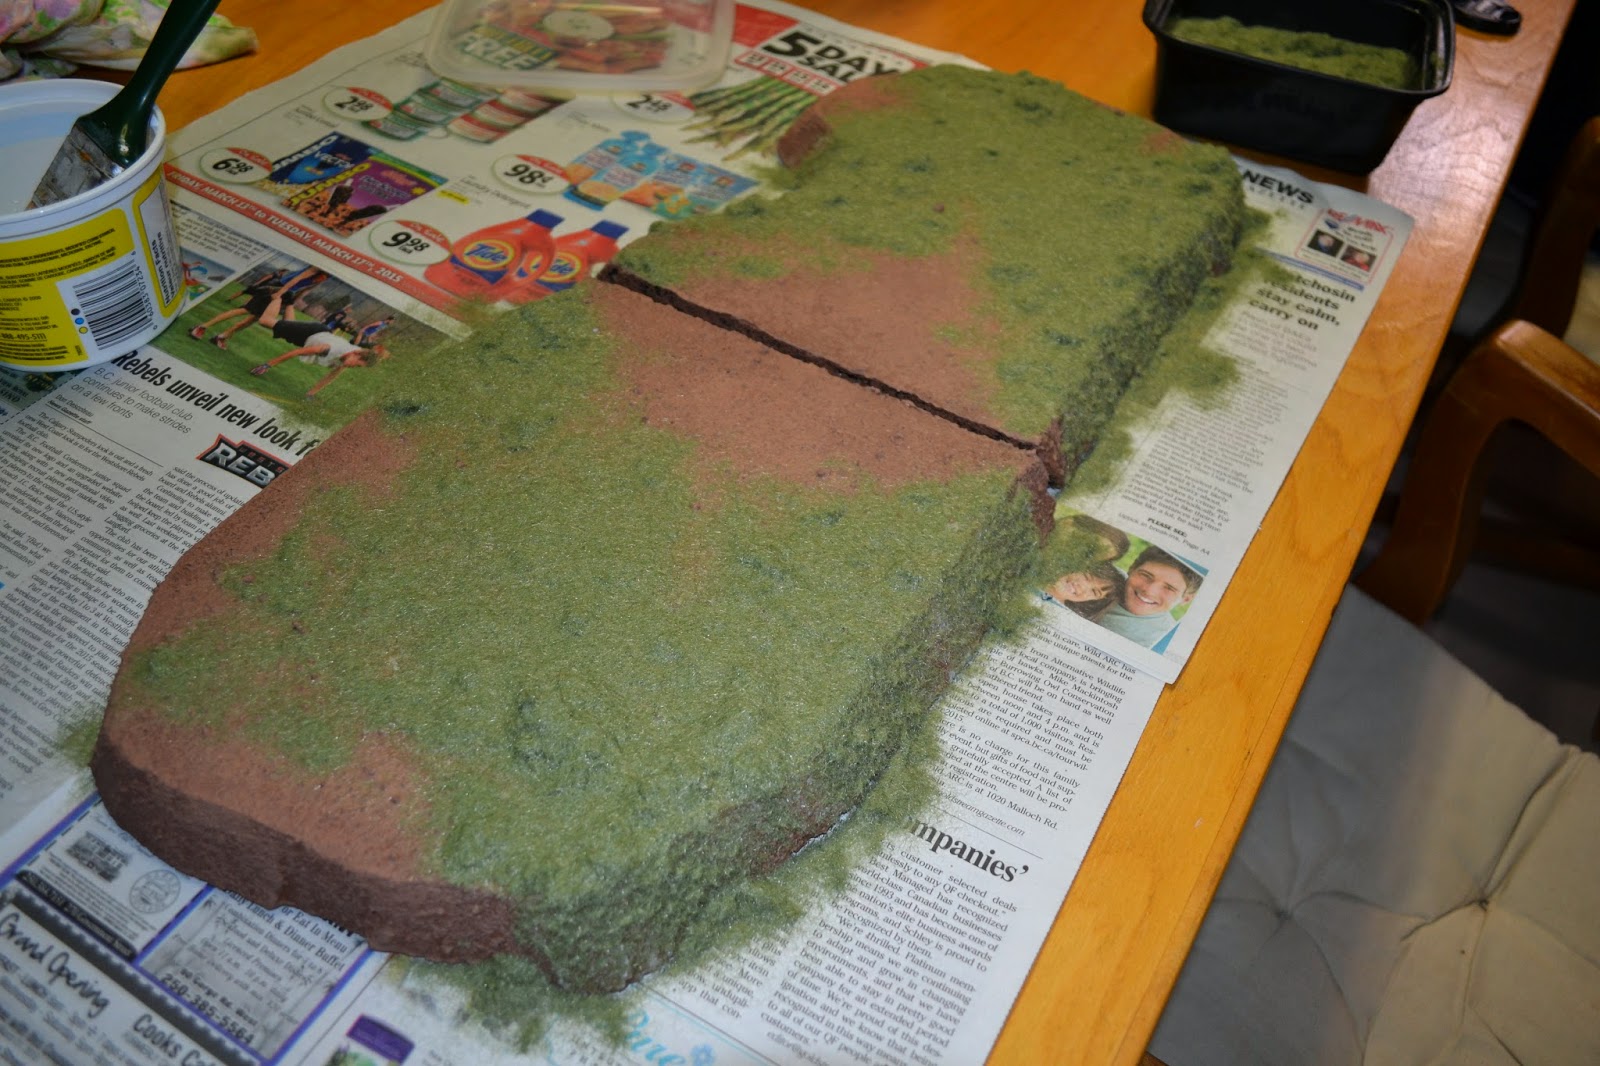
Next step is to add the static grass. I put on heaps of it, even though I know most of it won't stick, just to make sure I get full coverage of the areas I've applied glue to. Particularly on the edges, make sure you cover all the glue else you'll have shiny spots where the grass didn't cover the glue.
Now allow them to dry again. I let them sit overnight (notice a trend here?).
Once the glue is dry, the simplest step begins.
Put a sheet of newspaper down with the fold up. You'll see why at the end.
Now take your hill and dump off the excess, giving it a few gentle taps to release the unglued grass.
And there's the finished product. I've placed it beside a completely different hill that I redid about a year or so ago with the same method. Beside each other on the terrain board they look like they are from the same batch.
When you're done, just collect the grass in the fold of the newspaper and pour back into your container.
And there you have it. A set of hills reconditioned to match my terrain set. Elapsed time to build, about five hours over four days. This would have been the same time even if they weren't reconditioned pieces. The only difference is the jagged cliff area on the one hill, which was left over from before.
As I said, the variations are endless, depending on the colour of grass and paint chosen, as well as the geometry of the hills. Another set of boards I made for my brother had the same surface treatment, but I used flock instead of grass to get a more northern moors style look. Experiment, and let me know if you have any cool effects in the comments. Also, put any questions in comments and I'll answer them as best I can. Now go forth and make some land for your armies to conquer!


.JPG)
.JPG)
.JPG)
.JPG)
.JPG)
.JPG)
No comments:
Post a Comment